
In the world of digital photography, filters have become indispensable tools for photographers and enthusiasts alike. One such filter that has stood the test of time and retained its artistic allure is the Sepia filter. Originally developed as a photographic toning technique using chemicals, the Sepia filter has found a new home in the digital realm, courtesy of software like Adobe Photoshop. In this blog, we’ll delve into the captivating world of the Photoshop Sepia filter, exploring its history, purpose, and how to effectively use it to add a touch of vintage elegance to your photographs.
Understanding the Sepia Filter: A Brief Historical Overview
The Sepia filter derives its name from the ink sac of the common cuttlefish, Sepia. Traditionally, sepia toning was used to enhance the longevity of black and white photographs by replacing the silver particles with more stable compounds. This technique also imparted a warm brownish tint to the images, giving them a distinctive look that evoked a sense of nostalgia and timelessness.
The Purpose of the Sepia Filter in Digital Photography
In the digital age, the Sepia filter serves a dual purpose. On one hand, it pays homage to the history of photography, allowing us to recreate the aesthetic of old photographs. On the other hand, it injects a certain mood and emotion into images that might be lacking in full-color renditions. The warm tones of sepia can evoke feelings of nostalgia, romance, and sentimentality, making it a popular choice for portraits, landscapes, and still-life photography.
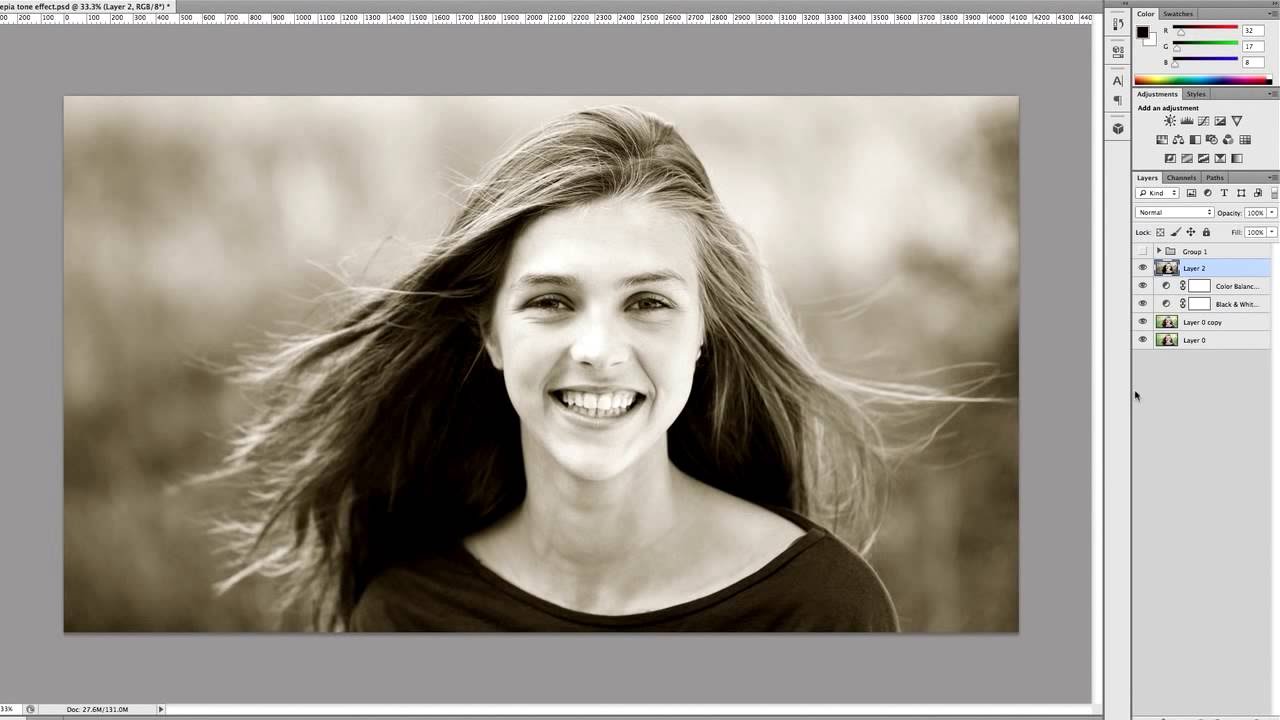
Applying the Sepia Filter in Adobe Photoshop: A Step-by-Step Guide
- Opening Your Image: Launch Adobe Photoshop and open the image you want to apply the Sepia filter to.
- Convert to Black and White: Before applying the Sepia filter, it’s advisable to convert your image to black and white. This can be done by navigating to “Image” > “Adjustments” > “Desaturate.”
- Adding the Sepia Tone: To create the sepia effect, go to “Image” > “Adjustments” > “Photo Filter.” A dialog box will appear, allowing you to choose different filter presets. Select the Sepia filter and adjust the density to control the intensity of the effect. Experiment with different densities to achieve the desired result.
- Fine-Tuning with Curves: For further customization, use the Curves adjustment layer (“Layer” > “New Adjustment Layer” > “Curves”). Adjusting the curves can help enhance the tonal range of the sepia image, lending it more depth and character.
- Vignette Effect: To enhance the vintage feel, consider adding a subtle vignette effect. Create a new layer, choose the elliptical marquee tool, draw an oval selection, and then go to “Select” > “Inverse.” Apply a feather (found under “Select” > “Modify” > “Feather”) to soften the edges of the selection. Finally, use the Levels adjustment (“Image” > “Adjustments” > “Levels”) to darken the edges of the image.
Unlocking Creative Expression with Sepia
The Sepia filter is more than just a tool for imitating the past; it’s an avenue for artistic expression. While traditionally associated with old-world charm, sepia can also be employed in modern photography to infuse a sense of sophistication, mystery, and narrative. Whether you’re working on portraits, landscapes, or even abstract compositions, experimenting with the Sepia filter can open up a world of creative possibilities.